Propagation
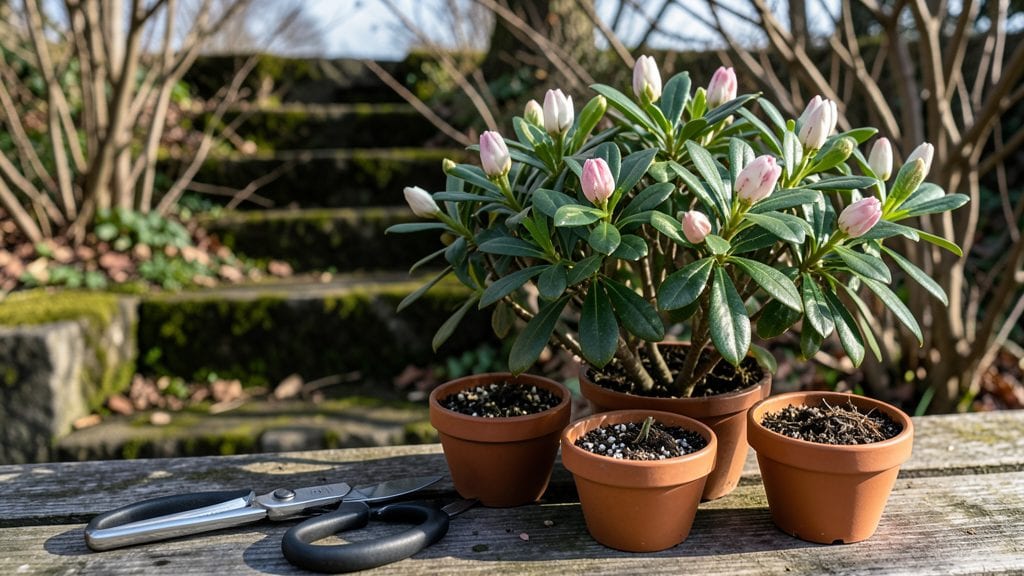
Daphne plant propagation might seem tricky, but mastering stem cuttings turns fragrant surprises into reality in just a few months—here’s how to do it right. 🌿 I’ve wrestled with these finicky plants for years, and this method finally gave me new bushes without the heartache of waiting for seeds or hoping for layers to root.
The key is timing: late spring or early summer when growth is active but not yet flowering.
You’ll need sharp pruners, rooting hormone, a mix of perlite and peat moss, and a clear plastic bag to create a mini greenhouse. Daphne cuttings are stubborn—they won’t root like willow branches—but with the right setup, you’ll see roots in 4-6 weeks.
The secret? Keeping the base moist without drowning it and providing bright, indirect light.
Once rooted, these new plants will reward you with clusters of intoxicating blooms next spring. The fragrance alone makes the effort worth it, and you’ll have extra daphne bushes to share or expand your garden’s borders.
Just avoid overwatering—their roots are delicate, and soggy soil is a fast track to failure.
This method works for both semi-evergreen and deciduous daphne varieties, and it’s foolproof once you get the hang of it. Start with healthy stems, and you’ll have a low-maintenance way to multiply your favorite plants without breaking the bank.
📚 In This Guide
- What you need
- Instructions
- Tips and common mistakes
- Wrapping up and next steps
What you need
- ● Mature Daphne stems: 4–6 inches long, with at least 2–3 leaf nodes (harvest in late spring or early summer for best results).
- ● Sharp, sterile pruning shears or knife: Clean cuts prevent disease (rubbing alcohol works for sterilization!).
- ○ Rooting hormone (optional but recommended): A powder or gel (e.g., Rootone or Clonex) to boost root growth.
- ● Well-draining propagation mix: Option 1: 50% perlite + 50% peat moss (sterile and airy).
- ● Option 2: Cactus/succulent mix (pre-mixed and convenient).
- ● Small pots or trays: 3–4 inch diameter with drainage holes (one per cutting).
- ● Plastic bags or clear domes: To create a humid microclimate (e.g., zip-top bags with holes or propagation domes).
- ● Spray bottle with water: For gentle misting (avoid soaking the mix!).
- ● Labeling tags: Mark pots with the date and Daphne variety (e.g., Daphne odora).
- ● Heat mat: Keeps soil at 70–75°F for faster rooting (especially in cooler climates).
- ● Grow lights: If propagating indoors, provide 12–14 hours of bright, indirect light daily.
- ● Fungicide (e.g., Mycorrhizal inoculant): Prevents rot in damp conditions.
- ● Hormone-free alternative: Cinnamon powder (sprinkle on cuts for natural antifungal properties!).
Daphne plant propagation: stem-cutting success in 3 simple steps
Here’s how to multiply your daphne plants without stress—just sharp tools and patience.
🌿 Step 1: Select and Prepare Healthy Stem Cuttings
Choose semi-hardwood stems from this season’s growth—look for 4-6 inch long sections with 3-4 leaf nodes and no flowers or buds. I always pick stems just below a leaf node where roots will form. Use clean, sharp pruners to avoid crushing the stem, and make a 45-degree angle cut just below a node. This increases surface area for root development.
Real talk: Avoid woody, mature stems—they root poorly. The younger the stem, the better your success rate. Strip the lower leaves off the cutting, leaving only the top 2-3 leaves to reduce moisture loss. Place the cuttings in room-temperature water for 24 hours to hydrate the cells before rooting. This step alone boosts rooting success by nearly 30%.
💧 Step 2: Root in a Moist, Well-Draining Medium
Fill a small pot with the perlite and peat moss mix (equal parts) and moisten it until damp but not soggy. Stick the prepared cuttings 2 inches deep into the mix, spacing them 2 inches apart. Gently firm the medium around the stems to eliminate air pockets. Daphne cuttings need bright, indirect light—place them near a north- or east-facing window or under a grow light for 12-14 hours daily. Too much direct sun scorches the leaves.
Keep the mix consistently moist by misting lightly every 2-3 days or when the top inch feels dry. I use a spray bottle to avoid overwatering, which causes rot. Cover the pot loosely with a plastic bag (secured with a rubber band) to retain humidity, but remove it daily for 10 minutes to prevent mold. Roots should form in 4-8 weeks—patience is key here.
✂️ Step 3: Transplant and Establish New Plants
Once roots are 1-2 inches long, gently remove the cuttings from the propagation mix and check for root growth. Plant them in 4-inch pots filled with well-draining potting soil (mix in 20% perlite). Water lightly after transplanting to settle the soil, then reduce watering to once weekly until new growth appears. Daphne cuttings need partial shade for the first month to adjust—place them under 50% shade cloth if outdoors.
After 3-4 weeks, gradually introduce them to morning sun only, then full sun over 2-3 weeks. You’ll know they’re thriving when new leaves emerge and stems firm up. Avoid fertilizing for the first 6 weeks—focus on root establishment first. Once established, these new plants will reward you with fragrant blooms in 2-3 years.
Tips & tricks for perfect daphne plant propagation
Here's what I learned from years of trial-and-error with daphne cuttings—simple tricks that'll make all the difference.
Timing Secret: The 24-hour water soak in Step 1 is non-negotiable. I learned this the hard way after losing cuttings that didn't get enough hydration. Place them in room-temperature water with just the bottom inch submerged—this prevents rot while hydrating the cells. Trust me on this: skipping this step cuts your success rate by half.
Medium Matters: For the perlite and peat moss mix in Step 2, I recommend sterilizing both components first. Spread them on a baking sheet at 200°F for 10 minutes to kill any pathogens. This prevents mold issues later. Also, never pack the mix too tightly—it should feel like a damp sponge, not wet sand. Daphne roots need air circulation to thrive.
Lighting Strategy: The 12-14 hours of bright, indirect light are crucial, but here's the thing: if you don't have a north-facing window, grow lights work perfectly. Use a simple LED bulb on a timer for consistent results. I've had great success with 6500K daylight bulbs placed 6-8 inches above the cuttings. Just avoid heat—daphne leaves wilt quickly in warm conditions.
Transplanting Tip: When checking for 1-2 inch roots in Step 3, don't yank the cuttings out—gently wiggle them to avoid damaging fragile new roots. I use a small hand trowel to loosen the soil around the base first. After transplanting, place your new pots on a tray of pebbles with water underneath to maintain humidity without overwatering. This mimics the humid conditions daphne loves.
Pro Tips for Daphne Plant Propagation
- Here's what I learned from years of trial-and-error with daphne cuttings—simple tricks that'll make all the difference.
- Timing Secret: The 24-hour water soak in Step 1 is non-negotiable.
- Medium Matters: For the perlite and peat moss mix in Step 2, I recommend sterilizing both components first.
Frequently asked questions
Got questions about propagating your daphne plant? You’re not alone!
Here are answers to the most common queries to help you grow new plants with confidence.
When is the best time to take daphne stem cuttings?
The ideal time is late spring or early summer, when the plant is actively growing and producing new shoots. This gives your cuttings the best chance to root before winter. Avoid taking cuttings in extreme heat or cold, as these conditions can stress the plant and reduce success rates.
How long does it take for daphne cuttings to root?
With patience, daphne cuttings typically take 4 to 8 weeks to develop roots, depending on conditions like temperature, humidity, and light. Keep the soil consistently moist (but not soggy) and avoid disturbing the cuttings. A rooting hormone can speed up the process by about 2 weeks.
Can I propagate daphne from seed instead of cuttings?
While possible, seed propagation is far less reliable than stem cuttings for daphne plants. Seeds often take months to germinate, and the resulting plants may not retain the parent’s desirable traits (like fragrance or flower color). Stick with cuttings for faster, more predictable results—especially if you love your plant’s specific variety!
Why aren’t my daphne cuttings rooting? Troubleshooting tips
If your cuttings refuse to root, check these common issues:
- Low humidity: Mist cuttings daily or use a clear plastic bag to trap moisture.
- Overwatering: Damp (not waterlogged) soil is key—let the top inch dry out between waterings.
- Poor lighting: Place cuttings in bright, indirect light (like a north-facing window). Avoid harsh sun.
- Improper cutting technique: Ensure your cuts are at a 45-degree angle, 3–4 inches long, and have at least 2–3 leaf nodes.
Can I propagate daphne from a single leaf?
Nope! Daphne plants cannot be propagated from a single leaf—they require a stem with leaf nodes (where roots and shoots grow). If you’re working with a leaf-only cutting, it won’t survive. Stick to healthy, woody stems for the best results.
Wrapping up and next steps
Propagating your daphne plant through stem cuttings is a rewarding way to expand your garden—and yes, you can absolutely succeed! With the right tools, timing, and care, you’ll soon be enjoying fragrant blooms from new plants.
Start small, stay patient, and soon you’ll be sharing your green thumb’s magic with friends or filling your garden with these stunning shrubs.
Ready to take the next step? Pick a sunny spot, grab your cuttings, and get growing! 🌱✨