Flowers
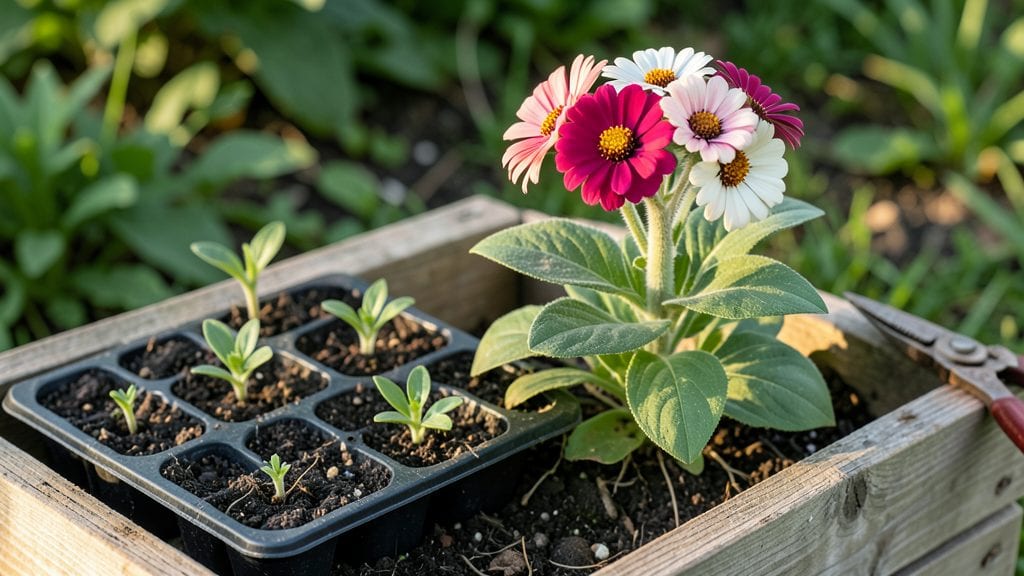
The right flower planting tools make all the difference between struggling seedlings and plants that thrive from day one. I've dug up more roots than I can count, and the difference between a cheap trowel and a quality one is like night and day—your plants feel it immediately.
A good set of tools doesn't just make planting easier; it helps roots establish deeper, faster, and with less stress.
Start with the basics: a stainless steel hand trowel for digging holes (the narrow blade fits snugly around roots), ergonomic pruners for cutting cleanly (look for bypass blades to avoid crushing stems), and durable gloves that grip without blisters.
For seeds, a precision seeder or even a repurposed egg carton works wonders—no more uneven spacing. I swear by a soil knife for slicing through compacted earth without tearing roots, and a bulb planter for those deeper divots.
These tools won’t break the bank, but they’ll last seasons if you clean and sharpen them after each use.
What you’ll notice right away is how much smoother everything becomes—less tugging, cleaner cuts, and roots that settle in like they’ve always been there. My black thumb days are long gone since I upgraded my tools; even finicky perennials like hostas and daylilies transplant like pros now.
The key is matching the tool to the job: a transplant spade for moving established plants, a seed dibber for precise seed placement, and a garden fork for aerating heavy soil before planting. It’s not about having every gadget—just the right ones for your garden’s needs.
Here’s the thing—good tools pay for themselves in saved plants and fewer second-guesses. I’ll never go back to my old, bent trowel days.
Whether you’re tackling a full garden bed or just a few annuals, these tools turn planting from a chore into a precision task that sets your flowers up for success. Let’s get you equipped the right way.
📚 In This Guide
- What you need
- Instructions
- Tips and common mistakes
- Wrapping up and next steps
What you need
- ● Trowel (Hand Trowel) – 1-2 units, 6-8" stainless steel blade for digging small holes and transplanting.
- ● Garden Fork – 1 unit, 18-24" heavy-duty for breaking up soil and aerating.
- ● Pruning Shears – 1 unit, bypass-style for clean cuts on stems and deadheading.
- ● Garden Gloves – 1 pair, durable, breathable fabric (e.g., nitrile-coated) for protection.
- ● Measuring Tape or Ruler – 1 unit, 12" or longer for spacing plants accurately.
- ● Watering Can or Hose with Adjustable Nozzle – 1 unit, 1-2 gallon capacity for gentle watering.
- ● Kneeling Pad – 1 unit, cushioned for comfort during long planting sessions.
- ● Transplant Spade – For larger plants or bulk digging.
- ● Soil Knife – Precision tool for slicing through roots or dividing perennials.
- ● Plant Labels & Marker – Waterproof labels and permanent marker to track varieties.
- ● Garden Cart or Wheelbarrow – For hauling soil, mulch, or tools.
- ● Soil pH Tester – Ensures your plants thrive in optimal conditions.
- ● Compost or Fertilizer – Organic matter to enrich planting holes.
Step-by-Step guide to using flower planting tools for stronger roots
Here’s how to use the right tools to create perfect planting holes every time—no guesswork, just strong starts.
Choose the Right Tools for the Job
For small flowers like petunias or marigolds, a hand trowel with a 3-inch blade works best—it gives you precision without disturbing nearby roots. Larger perennials like daylilies or hostas need a round-point shovel or d-handle transplanter to dig deeper holes without compacting the soil. Always check for sharp edges; dull tools tear roots and stress plants.
I keep my tools clean between uses—scrubbing off old soil prevents disease transfer. A hand fork comes in handy for breaking up compacted soil in the bottom of the hole. This ensures roots grow into loose, well-aerated soil right away, which is critical for establishing strong plants.
Dig Holes the Correct Depth and Width
Dig holes twice as wide as the root ball but no deeper—this prevents water pooling around the roots. For example, a 6-inch-wide plant needs a 12-inch hole. Press the sides of the hole lightly with your fingers to create a smooth, vertical wall. Rough edges can tear root systems when you place the plant in.
Loosen the soil at the bottom of the hole with your hand fork—this encourages roots to spread outward instead of circling. If your soil is heavy clay, mix in a handful of compost from the materials list to improve drainage. The goal is a hole that’s ready to welcome roots without resistance.
Handle Roots Gently for Maximum Survival
Before placing the plant in the hole, tease apart any circling roots with your fingers—this prevents girdling, where roots strangle the plant as it grows. For container-grown plants, run your fingers along the edge of the root ball to loosen the outer layer slightly. This encourages roots to grow outward into the new soil immediately.
If roots are dry or tangled, soak them in a bucket of room-temperature water for 10-15 minutes before planting. This hydrates them and makes them easier to handle. Never force roots into the hole—if they don’t fit naturally, the hole is too small. Adjust as needed.
Position and Backfill for Stability
Place the plant in the hole so the top of the root ball sits level with the surrounding soil. For mulch-loving plants like hostas, this might mean mounding soil slightly higher than the original container level. Press the soil around the roots firmly with your hands to eliminate air pockets—this ensures immediate contact with moisture.
Fill the hole gradually, tamping down the soil in 1-inch layers to avoid sinking the plant too deep. Water lightly as you go to settle the soil. Once the hole is full, press the soil one last time to create a slight basin around the base. This helps water pool where the roots need it most.
Water and Mulch for Long-Term Success
Give the newly planted flower a deep watering—enough to moisten the soil 6 inches down. This encourages roots to grow deeper right away. Use a watering wand for gentle, even distribution. Avoid blasting water at the base, which can dislodge soil and expose roots.
Spread 2-3 inches of mulch over the soil surface, keeping it 2 inches away from the stem to prevent rot. Mulch conserves moisture, regulates soil temperature, and suppresses weeds. For the first 2-3 weeks, check the soil daily—newly planted flowers need consistent moisture to establish roots.
Tips & tricks for perfect flower planting
Here’s what I’ve learned after years of trial and error—these small adjustments make all the difference in helping your flowers thrive from day one.
Tool Selection Matters: In Step 1, don’t overlook the importance of sharp tools. I’ve ruined more root systems than I can count using dull shovels that tear delicate roots. Before each planting session, run your hand trowel or shovel along a piece of sandpaper to maintain sharp edges. For stubborn clay soil, a hand fork is my secret weapon—it breaks up compacted soil without disturbing nearby roots.
Precision Digging: When digging holes in Step 2, remember that the sides should be smooth and vertical. I learned this the hard way when rough edges tore through root systems during planting. Use your fingers to press the sides gently, creating a clean wall that won’t damage roots. For larger plants, consider using a d-handle transplanter—it gives you better leverage without compacting the soil.
Root Care is Critical: In Step 3, never skip the root teasing process. I’ve seen too many plants struggle because their roots were left circling. Gently separate any roots growing in tight circles with your fingers—this prevents girdling and encourages outward growth. For container-grown plants, soaking roots for 10-15 minutes in room-temperature water makes handling much easier and reduces transplant shock.
Mulching Strategy: In Step 5, the 2-3 inches of mulch should always be kept 2 inches away from the stem. I’ve seen many gardeners make the mistake of piling mulch directly against the stem, which can cause rot. Use a ruler to measure this distance—it’s a small detail that makes a big difference in plant health. For the first 2-3 weeks, check soil moisture daily, especially during hot weather.
Pro Tips for Flower Planting Tools
- Here’s what I’ve learned after years of trial and error—these small adjustments make all the difference in helping your flowers thrive from day one.
- Tool Selection Matters: In Step 1, don’t overlook the importance of sharp tools.
- Precision Digging: When digging holes in Step 2, remember that the sides should be smooth and vertical.
Frequently asked questions
Got questions about flower planting tools?
You’re not alone! Whether you're a beginner or a seasoned gardener, having the right tools—and knowing how to use them—can make all the difference. Below, we’ve answered the most common questions to help you dig in with confidence.
What are the essential flower planting tools for beginners?
Start with a hand trowel (for small spaces), a garden fork (for breaking up soil), and pruning shears (for trimming). A measuring tape and gloves are also handy. For larger gardens, consider a transplanting spade or bulb planter. Keep it simple—you’ll expand your toolkit as you grow!
When is the best time to plant flowers using these tools?
Timing depends on your climate and flower type! For cool-season flowers (like pansies or snapdragons), plant in early spring or fall. Warm-season blooms (such as marigolds or petunias) thrive when planted after the last frost (typically late spring). Always check your local frost dates—tools won’t help if the soil is too cold!
Can I use household items instead of specialized tools?
A butter knife works for small seeds, a wooden spoon can loosen soil, and a plastic spoon helps transplant seedlings. For deeper digging, a shovel or sturdy fork from your garage will do. Just avoid sharp or rusty items—they can damage roots or introduce disease. DIY tools save money and reduce waste!
Why do my flowers keep dying even with the right tools?
Common culprits include overwatering (roots need air!), poor drainage (use a trowel to loosen soil), or planting too deep (check seed packets for depth guidelines). Also, ensure tools are clean and sharp to avoid crushing roots. If pests are the issue, a handheld sprayer with neem oil can help. Observe your plants closely—they’ll tell you what’s wrong!
How do I maintain my flower planting tools for longevity?
Rinse tools with soapy water after use to remove sap and dirt, then dry them thoroughly to prevent rust. Sharpen blades (like pruners) with a file or honing stone, and oil wooden handles to keep them smooth. Store tools in a dry, covered area (like a shed or garage) to protect them from the elements. A little care goes a long way!
Wrapping up and next steps
Choosing the right flower planting tools is your secret weapon for nurturing thriving blooms and stronger roots! 🌱 From ergonomic trowels to durable gloves, each tool plays a vital role in creating the perfect conditions for your garden to flourish.
With the right equipment in hand, you’re not just planting flowers—you’re investing in their long-term health and beauty.
Now that you’re armed with knowledge, take the next step and visit your local garden center or browse online stores to pick up the tools that fit your gardening style. Start small, experiment, and watch your garden transform into a vibrant, blooming paradise! Happy planting! 🌸