Planting
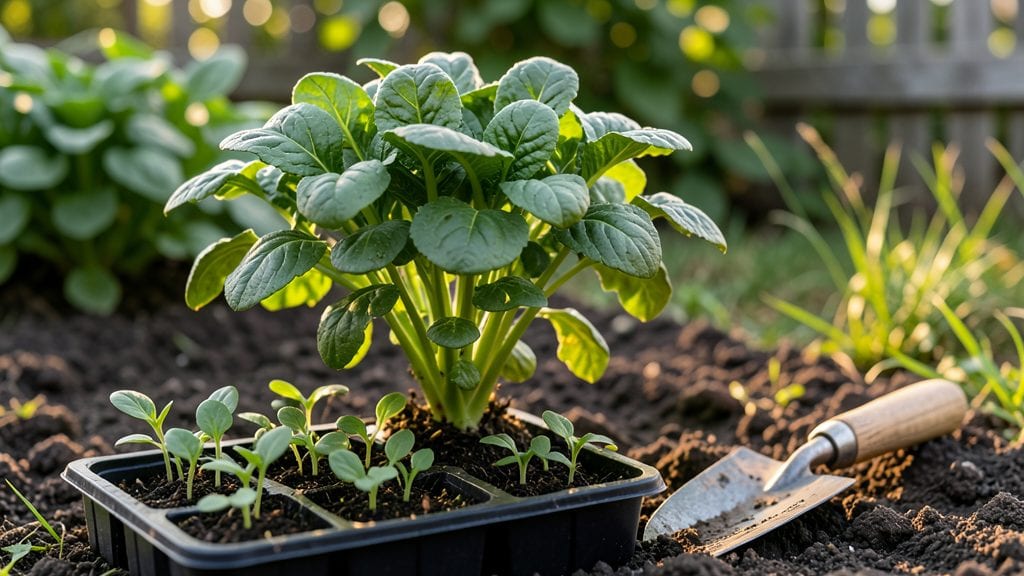
Here are spinach planting tips that’ll help you grow lush, homegrown greens—just don’t let it bolt before you even get to harvest time. ✨ harvest. The secret isn’t complicated, but skipping these steps means wilted leaves instead of crisp, flavorful greens.
Start with loose, well-draining soil rich in compost—spinach hates compacted or soggy ground. Plant seeds only ½ inch deep, about 1 inch apart, in rows 12 inches apart.
Give them 3-5 hours of morning sun daily (afternoon shade helps in hotter climates), and keep the soil consistently moist but never waterlogged. The first true leaves appear in 7-10 days, but true patience pays off—harvest outer leaves when they’re 4-6 inches tall to encourage continuous growth.
📚 In This Guide
- What you need
- Instructions
- Tips and common mistakes
- Wrapping up and next steps
What you need
- ● Spinach Seeds: Choose disease-resistant varieties like 'Baby’s Leaf Hybrid' or 'Tyee'. Buy 1–2 packets (about 1,000–2,000 seeds per packet) for a small garden.
- ● Well-Draining Soil: A mix of 60% topsoil and 40% compost (or potting mix for containers). Aim for a pH of 6.5–7.0.
- ● Garden Space: In-Ground: A 10–12 inch deep, 12–18 inch wide bed with full sun to partial shade (4–6 hours of sunlight daily).
- ● Containers: At least 6–8 inch deep pots with drainage holes (e.g., 5–10 gallon containers for 3–5 plants).
- ● Watering Can or Hose: With a gentle spray nozzle to avoid displacing seeds.
- ○ Fertilizer (Optional but Helpful): A balanced organic fertilizer (e.g., 10-10-10) or compost tea for a nutrient boost.
- ● Garden Trowel or Hand Fork: For loosening soil and creating seed furrows.
- ● Ruler or Measuring Tape: To space seeds 1–2 inches apart (rows should be 12–18 inches apart).
- ○ Gloves (Optional): To protect hands from soil and prickly stems.
- ○ Row Cover or Shade Cloth (Optional): 30–50% shade cloth for hot climates or lightweight row cover to deter pests.
- ● Best Planting Time: Early spring or late summer/fall (avoid extreme heat—spinach bolts quickly above 75°F (24°C)).
- ● Frost Tolerance: Spinach can handle light frosts—ideal for cool-season gardens!
- ● Consistent Moisture: Keep soil evenly moist (not soggy) for germination and growth.
Step-by-Step instructions for planting spinach like a pro
Growing spinach doesn’t require fancy tricks—just smart timing and the right conditions. Here’s how to get vibrant, productive plants every time.
🌱 Step 1: Choose the Perfect Planting Spot
Spinach thrives in cool weather and partial shade, especially in hotter climates. Select a location that gets 3-5 hours of morning sun and gentle afternoon shade—too much midday heat causes bolting. I always plant mine near taller crops like corn or tomatoes to filter harsh afternoon rays naturally.
Test your soil’s moisture retention by squeezing a handful: it should hold together but not feel sticky. If your soil drains too fast, amend it with 1-2 inches of compost to improve water-holding capacity. Spinach hates soggy roots, so raised beds with good drainage work best if your native soil is heavy.
🌿 Step 2: Prepare the Soil for Optimal Growth
Loosen the top 6 inches of soil with a garden fork or tiller to break up compaction without disturbing deeper layers. Spinach roots are shallow, so focus on creating a fine, crumbly texture. Work in 1 cup of 5-10-10 fertilizer per 100 square feet to provide balanced nutrients without overloading nitrogen.
Level the soil surface with the back of a rake, then create shallow furrows ½ inch deep spaced 12 inches apart. This spacing gives leaves room to spread without crowding. I like to water the furrows lightly before planting to help seeds settle at the right depth.
💧 Step 3: Plant Seeds at the Right Depth and Spacing
Sow seeds ¼ inch deep—any deeper and they’ll struggle to push through the soil. Drop 3-4 seeds every 2 inches along each furrow, then cover lightly with a thin layer of soil. Press gently to ensure good seed-to-soil contact, which is critical for even germination.
Mist the area with a fine spray until the soil surface looks uniformly damp but not wet. Overwatering at this stage can wash seeds away or create crusts that prevent sprouts from emerging. I use a gentle watering can with a fine rose attachment to avoid disturbing the seeds.
☀️ Step 4: Maintain Consistent Moisture and Light
Keep the soil evenly moist but never waterlogged—spinach’s shallow roots need consistent hydration but will rot if submerged. Water early in the morning to allow foliage to dry before evening, reducing disease risk. You’ll know moisture is right when the top inch of soil feels cool and damp to the touch.
Thin seedlings to 3-4 inches apart once they develop 2-3 true leaves, using scissors to snip excess plants at soil level. This prevents competition and gives remaining plants room to grow. Harvest the thinnings immediately—they’re still tender and flavorful.
⏰ Step 5: Harvest for Continuous Production
Baby leaves are ready 3-4 weeks after planting, but full-sized spinach takes 5-6 weeks. Harvest outer leaves first, leaving the inner growth intact so the plant keeps producing. Cut leaves at a 2-inch base to encourage regrowth and prevent bolting.
For a second crop, succession-plant seeds every 2 weeks in early spring and late summer. Spinach bolting (going to seed) speeds up in warm weather, so I always plant heat-tolerant varieties like 'Bloomsdale Long Standing' for extended harvests. Mulch with 1 inch of straw to retain moisture and keep soil cool.
Tips & tricks for perfect spinach planting
Here's what nobody tells you about growing spinach that'll make all the difference between a decent harvest and a lush, continuous crop.
Sunlight Strategy: Pay close attention to the 3-5 hours of morning sun requirement in Step 1—this isn't just about sunlight, it's about timing. The gentle morning rays provide just enough energy without triggering bolting from afternoon heat. I've found that planting spinach on the north side of taller crops like corn creates natural shade that mimics perfect growing conditions. For containers, place them where they get morning sun but afternoon shade from nearby structures.
Soil Science: The soil preparation in Step 2 is where most gardeners go wrong. Don't just loosen the top 6 inches—focus on creating a fine, crumbly texture without disturbing deeper layers. I've learned this the hard way: compacted soil prevents those shallow spinach roots from accessing moisture and nutrients properly. Add your 1-2 inches of compost and mix it thoroughly with the existing soil, rather than just layering it on top. This ensures even distribution of nutrients throughout the root zone.
Planting Precision: When planting seeds at ¼ inch depth in Step 3, think of it like baking—precision matters. Use a ruler or seed spacing tool to maintain that 2-inch spacing between seed groups. I've found that gently pressing the seeds into the soil with your finger (rather than covering with more soil) creates better seed-to-soil contact. This small difference dramatically improves germination rates. For containers, use a fine mesh seed starter tray to maintain perfect spacing.
Moisture Mastery: The key to maintaining consistent moisture in Step 4 is understanding spinach's shallow root system. Water early in the morning to prevent fungal diseases, but check that top inch of soil feels cool and damp—not wet. I've developed a simple trick: use a spray bottle to mist the soil surface after watering, which helps maintain moisture without creating puddles. For containers, place them on a tray of pebbles with water to create natural humidity around the roots.
Pro Tips for Spinach Planting Tips
- Here's what nobody tells you about growing spinach that'll make all the difference between a decent harvest and a lush, continuous crop.
- Sunlight Strategy: Pay close attention to the 3-5 hours of morning sun requirement in Step 1—this isn't just about sunlight, it's about timing.
- Soil Science: The soil preparation in Step 2 is where most gardeners go wrong.
Frequently asked questions
Got questions about growing spinach? You’re not alone—this leafy green can be tricky for beginners! Here are answers to the most common spinach planting dilemmas, so you can grow like a pro.
When is the best time to plant spinach?
Spinach thrives in cool weather, so plant it 4–6 weeks before your last frost date in spring or 6–8 weeks before your first frost in fall. Avoid extreme heat—spinach bolts (goes to seed) when temps hit 80°F (27°C) or higher. For year-round harvests, try succession planting every 2–3 weeks!
Can I grow spinach in containers or small spaces?
Spinach is perfect for containers—just use a pot at least 6 inches deep with drainage holes. Choose compact varieties like ‘Baby’s Leaf Hybrid’ or ‘Space’ for tighter spaces. Place pots in partial shade if your balcony gets hot, and water consistently to keep soil moist. Pro tip: Use a self-watering planter to avoid bolting!
What pests or diseases should I watch for?
Spinach is vulnerable to aphids, slugs, and downy mildew. Prevent pests with row covers or neem oil spray. For slugs, set out beer traps or diatomaceous earth. If leaves yellow or develop spots, improve airflow and avoid overhead watering. Early intervention is key!
How long does it take for spinach to grow?
Baby spinach is ready in 30–40 days, while mature leaves take 45–55 days. For continuous harvests, pick outer leaves when they’re 2–3 inches tall, leaving the center to regrow. Bonus: Harvesting stimulates bushier growth—don’t wait too long!
What can I plant after spinach in the same spot?
Spinach is a light feeder, so follow it with heavy feeders like beans, peas, or tomatoes. Avoid replanting spinach in the same spot until next year to prevent soil-borne diseases. Interplant with radishes or lettuce to maximize space and confuse pests!
Wrapping up and next steps
Growing your own spinach is a rewarding journey that starts with sunlight, soil, and a little patience! 🌱 By choosing the right variety, preparing nutrient-rich soil, and providing consistent care, you’ll soon enjoy a bountiful harvest of fresh, leafy greens.
Whether you’re a beginner or a seasoned gardener, these tips will help you cultivate thriving spinach plants with ease.
Now that you’re armed with the know-how, it’s time to roll up your sleeves and get planting. Start small—even a few pots on a sunny windowsill can yield delicious results. Happy gardening, and may your spinach grow as lush as your enthusiasm! 🌿