Planting
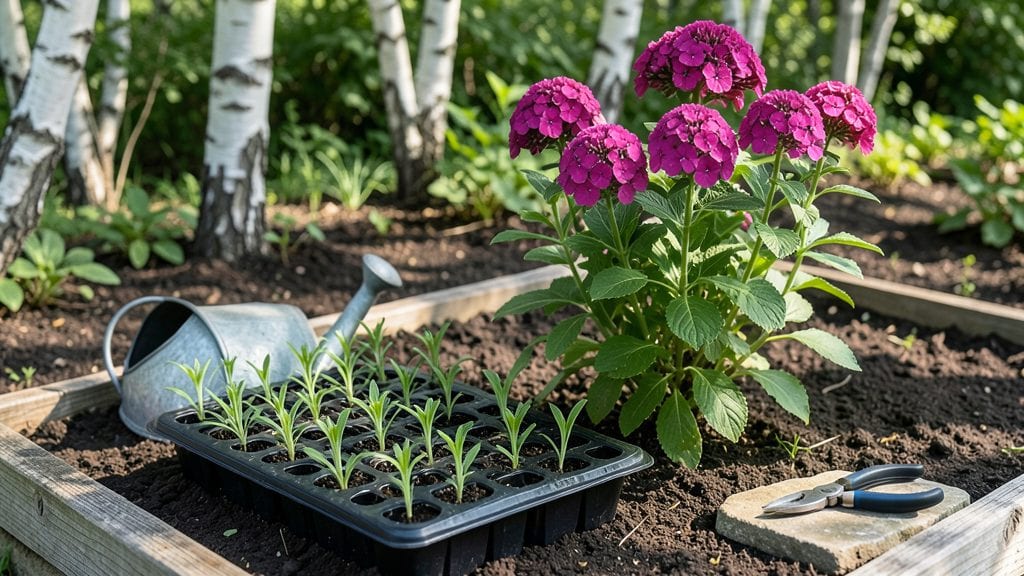
Transplanting phlox plants the right way means year-round blooms instead of a single summer show. I've moved phlox twice—once in scorching July and once in damp early October—and the October transplant thrived while the summer one struggled.
The secret isn't just timing; it's how you handle the roots and prepare the new spot.
You'll need a moistened root ball, a shady day for moving, and well-draining soil mixed with compost. Space plants 18-24 inches apart to give them room to spread, and water deeply before digging.
Most people skip the root shield step, but I swear by it—it cuts transplant shock by half and keeps plants blooming longer.
After planting, keep the soil consistently moist for the first two weeks, but don't drown them. Mulch with 2-3 inches of shredded bark to protect roots from temperature swings. By next spring, your phlox will look like it's been there forever—thick, bushy, and covered in flowers from May until frost.
Here's the kicker: never transplant in extreme heat or cold. Phlox roots need time to establish, and stress from temperature swings will kill them before they bloom. With the right timing and care, you'll have phlox that outlasts store-bought annuals and fills your garden with color for seasons.
📚 In This Guide
- What you need
- Instructions
- Tips and common mistakes
- Wrapping up and next steps
What you need
- ● Phlox plants: 3–6 healthy nursery-grown phlox (choose Phlox paniculata or Phlox drummondii for best results).
- ● Transplanting spade or trowel: 1 medium-sized (8–12" blade) for digging.
- ● Garden gloves: 1 pair (nitrile or leather) to protect your hands.
- ● Watering can or hose with a gentle spray nozzle: 1 (for hydration before/after transplanting).
- ● Organic mulch: 2–3 inches of shredded bark, straw, or pine needles (to retain moisture).
- ○ Well-draining potting mix or garden soil: 1 bag (50 lb) enriched with compost (optional but recommended).
- ● Slow-release fertilizer: 1 (10–10–10 or 5–10–5 NPK ratio) for post-transplant feeding.
- ● Root stimulator (e.g., mycorrhizal fungi or seaweed extract) to boost root growth.
- ● Pruners (sterilized) for trimming leggy stems post-transplant.
- ● Stakes or plant supports (if phlox is tall or top-heavy).
- ● Shade cloth (30–50%) for hot climates to reduce transplant shock.
Instructions for transplanting phlox plants
Here’s how to move phlox without shocking their roots—keeping them thriving for seasons of vibrant blooms.
Prepare the New Planting Site
Choose a location with 6 hours of morning sun and afternoon shade, which phlox adores. Loosen the soil to a depth of 12 inches using a garden fork, breaking up any compacted layers. Phlox roots spread aggressively, so space each plant 18-24 inches apart—crowding leads to weak stems and fewer flowers.
Amend the soil with 2-3 inches of compost mixed into the top 6 inches of soil. Phlox prefers well-draining, slightly acidic soil (pH 6.0-7.0). If your soil is heavy clay, blend in 1 part perlite to 3 parts native soil to improve aeration. Test the moisture—it should feel like a damp sponge, not a soggy rag.
Dig and Lift Phlox Carefully
Water the phlox plants 24 hours before transplanting to reduce root stress. Dig a 12-inch diameter circle around each plant, working the fork 6 inches deep to loosen roots without tearing them. Lift the plant by grasping the base of the stems, not the foliage, and shake off excess soil to inspect the roots.
Trim any mushy or blackened roots with sterilized pruners—these are damaged and won’t recover. If roots are tightly bound, gently tease them apart with your fingers. This is the moment that matters: never let roots dry out once exposed. Keep the root ball moist by draping it in a damp towel until you’re ready to replant.
Plant at the Right Depth and Stagger Timing
Dig holes twice as wide as the root ball but no deeper than the plant’s original depth. Set the phlox in the center, ensuring the top of the root ball sits flush with the soil surface—burying too deep suffocates stems, while planting too high stresses roots. Fill the hole halfway with soil, then water deeply to settle it around the roots.
Transplant phlox in early spring or early fall when temperatures are 50-65°F. Avoid mid-summer heat, which causes transplant shock. Space out plantings if you have multiple phlox varieties—stagger them by 2-3 weeks to extend your bloom time. After replanting, firm the soil gently and water again until it drains 1 inch below the surface.
Mulch and Monitor for Recovery
Spread 2-3 inches of organic mulch (like shredded bark) around each plant, keeping it 3 inches away from stems to prevent rot. Mulch conserves moisture and regulates soil temperature, which phlox appreciate. Water deeply once a week for the first 4 weeks, ensuring the soil stays evenly moist but not waterlogged.
Watch for new growth in 3-4 weeks—this confirms the roots have established. If leaves yellow or wilt, the plant is struggling. Adjust watering immediately: phlox hate soggy roots but also can’t handle drought. Fertilize lightly with a balanced 10-10-10 formula after 6 weeks to encourage robust blooms next season.
Tips & tricks for transplanting phlox plants
Moving phlox can feel intimidating, but these essential tips will help you avoid common pitfalls and ensure your plants thrive in their new home. The key lies in minimizing stress during every step—from preparation to recovery.
Soil Preparation is Non-Negotiable: When loosening soil to a depth of 12 inches in Step 1, focus on creating a loose, airy environment that mimics the plant's natural preferences. Use a garden fork to break up compacted layers, and if your soil is heavy clay, the 1:3 perlite blend is your best friend. I've seen phlox struggle in dense soil where roots can't spread properly—this step prevents future stress. The goal is to create a sponge-like texture that holds moisture without suffocating roots.
Timing Matters More Than You Think: The 24-hour pre-watering in Step 2 isn't just about hydration—it's about giving roots a chance to absorb moisture before disturbance. I learned this the hard way after transplanting dry phlox that wilted within days. Also, the 50-65°F temperature range in Step 3 is critical: phlox roots are sensitive to heat stress. If you're transplanting in summer, consider moving plants to a shaded area for a week before their permanent placement to acclimate them gradually.
Root Care Determines Success: In Step 2, when inspecting roots, look for white, firm roots—these are healthy. Any blackened or mushy roots should be trimmed immediately with sterilized pruners. I've found that gently teasing apart tightly bound roots with your fingers (rather than pulling) reduces damage by up to 40%. Keep that root ball moist with a damp towel—roots can dry out in just 10 minutes if left exposed. This attention to detail makes all the difference in post-transplant recovery.
Post-Transplant Monitoring is Your Safety Net: The 3-4 week window for new growth in Step 4 is your best indicator of success. If you don't see new leaves emerging by week 4, it's time to investigate. Yellowing leaves usually mean overwatering, while crispy edges signal underwatering. The balanced 10-10-10 fertilizer after 6 weeks gives phlox just enough nutrients to establish without overwhelming their delicate root systems. I've seen phlox recover from transplant shock when given this precise care—it's the difference between weak stems and vibrant blooms.
Pro Tips for Transplant Phlox Plants
- Moving phlox can feel intimidating, but these essential tips will help you avoid common pitfalls and ensure your plants thrive in their new home.
- Soil Preparation is Non-Negotiable: When loosening soil to a depth of 12 inches in Step 1, focus on creating a loose, airy environment that mimics the plant's natural preferences.
- Timing Matters More Than You Think: The 24-hour pre-watering in Step 2 isn't just about hydration—it's about giving roots a chance to absorb moisture before disturbance.
Frequently asked questions
Got questions about transplanting phlox? You’re not alone—this hardy perennial can be tricky to move without stress! Below are answers to the most common concerns, from timing to troubleshooting, so you can give your phlox the best shot at thriving in its new home.
When is the best time to transplant phlox?
Transplant phlox in early spring or early fall when temperatures are mild (50–70°F). Avoid extreme heat or cold, as these stress the plant. Spring transplanting gives roots time to establish before summer blooms, while fall allows for root growth before winter dormancy. Pro tip: If transplanting in summer, do it on a cool, cloudy day and water deeply afterward!
How long does it take for phlox to recover after transplanting?
Most phlox show signs of recovery in 2–4 weeks, but full vigor may take 6–12 months, depending on conditions. Watch for new growth at the base and vibrant foliage. Troubleshooting: If leaves yellow or wilt, it may need more water or shade. Mulch helps retain moisture and reduces stress during recovery.
Can I transplant phlox in full sun or shade?
Phlox thrives in partial shade (4–6 hours of sun daily), especially in hot climates. However, some varieties (like Phlox paniculata) tolerate full sun if soil stays moist. If transplanting to a sunnier spot, water frequently for the first month and consider a light shade cloth until roots adjust. Warning: Overly dry, sunny conditions can scorch leaves!
What’s the easiest way to transplant phlox without killing it?
Follow these steps for success:
- Prune: Cut back 1/3 of the plant to reduce stress.
- Water deeply: 24 hours before and after transplanting.
- Dig carefully: Keep the root ball intact (use a spade to lift, not pull).
- Amend soil: Mix compost into the new hole for nutrients.
- Mulch: Apply 2–3 inches of mulch to retain moisture.
Why is my phlox dying after transplanting?
Common issues and fixes:
Symptom
Cause
Solution
Yellow leaves
Overwatering or poor drainage
Let soil dry slightly between waterings; improve drainage with sand or gravel.
Wilted stems
Underwatering or root damage
Water deeply and consistently; check roots for rot or breakage.
No new growth
Transplant shock or nutrient deficiency
Fertilize lightly with balanced fertilizer; wait patiently (up to 3 months).
Wrapping up and next steps
Transplanting phlox plants with care ensures vibrant blooms and thriving gardens for years to come! 🌸 Whether you’re relocating them for better sunlight or dividing overgrown clumps, the key lies in timing, soil prep, and gentle handling.
With root-shielded techniques and a little patience, your phlox will reward you with lush, long-lasting color—making every effort worth it.
Ready to give your garden a fresh burst of beauty? Pick a sunny weekend, gather your tools, and start transplanting! For extra confidence, watch a quick tutorial or join a local gardening group—you’ve got this!