Flowers
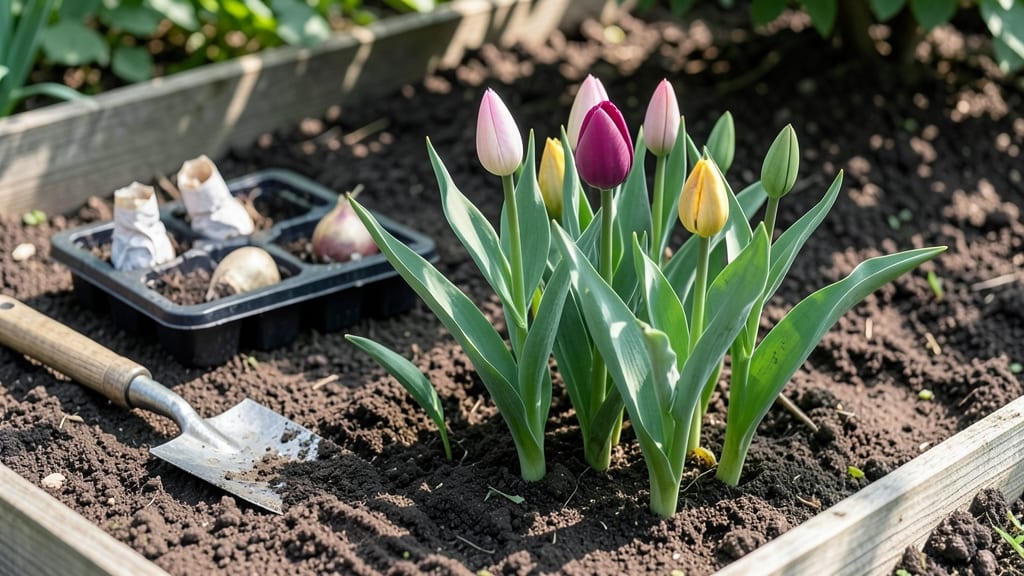
Mastering seasonal flower planting transformed my garden—now every season bursts with blooms, and I never scramble for last-minute replacements. The key isn’t just picking pretty varieties; it’s matching their natural rhythms to your local frost dates and microclimates.
I learned this the hard way when my impatiens bolted in summer heat and my pansies refused to thrive in winter—until I adjusted timing based on real weather patterns, not just calendar seasons.
Spring planting starts 6-8 weeks before last frost, but the real secret is prepping soil in fall—adding compost and mulch to warm the ground faster. Summer flowers like zinnias and cosmos actually prefer heat, so I plant them after Memorial Day when soil temps hit 65°F or higher.
Fall’s the underrated season: cool-loving asters and chrysanthemums thrive when planted 4-6 weeks before first frost, giving roots time to establish before winter. And yes, winter planting works too—pansies and sweet alyssum handle light frosts once established.
By following this seasonal rhythm, you’ll end up with a garden that looks effortlessly lush—no more wilting annuals or sad-looking perennials. The flowers will bloom exactly when they’re supposed to, with minimal deadheading and watering.
I’ve even got a 10-minute weekly routine that keeps everything thriving without the guesswork. The payoff? A yard that’s always in season, no matter what’s happening outside.
Works for every climate, from Zone 3’s short summers to Zone 10’s mild winters—just adjust timing by 2-4 weeks based on your local frost dates. Here’s how to make it work for your garden.
📚 In This Guide
- What you need
- Instructions
- Tips and common mistakes
- Wrapping up and next steps
What you need
- ● Flower seeds or seedlings: Choose seasonal varieties (e.g., tulips for spring, marigolds for summer, chrysanthemums for fall, and pansies for winter). Aim for 10–20 plants depending on your garden size.
- ● Well-draining potting mix or garden soil: 5–10 gallons (sterilized to prevent disease). For containers, opt for a lightweight, peat-based mix.
- ● Containers or garden beds: Containers: 5–15 gallon pots with drainage holes (terracotta or plastic). Ensure they’re at least 6–12 inches deep.
- ● Garden beds: A sunny spot with 6+ hours of light daily and loamy soil (amend with compost if needed).
- ● Watering can or hose with a gentle spray nozzle: 1–2 gallons capacity for efficient hydration.
- ● Gloves and knee pads: 1 pair each for comfort and protection.
- ● Hand trowel or transplanting spade: 1 medium-sized tool (6–8 inches long) for digging.
- ○ Mulch (optional but recommended): 2–3 inches of organic mulch (e.g., straw or shredded bark) to retain moisture.
- ● Slow-release fertilizer: 1 packet (e.g., 10-10-10 or organic options like fish emulsion).
- ● Plant supports: Stakes or cages for taller flowers (e.g., sunflowers or delphiniums).
- ● Soil pH test kit: 1 kit to check and adjust soil acidity (ideal range: 6.0–7.0 for most flowers).
- ● Seasonal bloom tracker: A notebook or app to log planting dates and care notes!
Step-by-Step instructions for seasonal flower planting
Here’s how to create a vibrant, low-maintenance garden that blooms continuously throughout the year.
Choose the Right Flowers for Each Season
Select flowers that thrive in your climate and align with their natural blooming seasons. For spring, opt for cool-season varieties like pansies, primroses, and snapdragons, which tolerate light frosts. Summer calls for heat-lovers such as marigolds, zinnias, and cosmos, while fall brings in chrysanthemums and asters. Winter gardens can feature hellebores and winter jasmine, which bloom in cooler months.
I always group flowers by their peak blooming periods to ensure continuous color. For example, plant early spring bulbs like tulips alongside late spring perennials like peonies. This staggered approach guarantees your garden never looks bare. Check the USDA Hardiness Zone map to confirm your region’s suitability for each variety.
Prepare the Soil and Planting Beds
Before planting, loosen the soil to a depth of 12 inches using a garden fork or tiller. Amend the soil with 2-3 inches of compost to improve drainage and fertility. If your soil is heavy clay, mix in 1 part sand for every 3 parts soil to prevent compaction. For sandy soil, incorporate 2 inches of organic matter like peat moss to retain moisture.
Level the planting area with a rake, removing any rocks or debris. For container planting, ensure pots have drainage holes and use a well-draining potting mix. Water the prepared soil thoroughly before planting to help roots establish quickly. This step is critical—poor soil prep often leads to weak plants that struggle to bloom.
Plant Flowers According to Seasonal Timing
Spring planting should begin 4-6 weeks before the last frost date in your area. For summer blooms, sow heat-tolerant annuals after the soil warms to at least 60°F. Fall plantings can start 6-8 weeks before the first frost, focusing on cool-season varieties. Winter flowers should be planted in late summer or early fall to allow roots to establish before cold sets in.
Dig holes twice as wide as the root ball but only as deep as the container’s height. Space plants according to their mature size—check the tag for spacing guidelines. Water deeply after planting to settle the soil and eliminate air pockets. Mulch around each plant with 1-2 inches of organic mulch to retain moisture and suppress weeds.
Maintain Seasonal Care for Continuous Blooms
Water deeply once a week during dry spells, aiming for 1 inch of water per week. Adjust frequency based on rainfall—soil should be moist but not soggy. Fertilize lightly every 4-6 weeks with a balanced, slow-release fertilizer to encourage steady growth. Deadhead spent blooms regularly to promote new flowers and prevent seed production.
Monitor for pests like aphids or powdery mildew, especially in humid summers. If issues arise, treat with neem oil or insecticidal soap as needed. Rotate plants seasonally—swap out summer annuals for fall varieties to keep the garden fresh. This rotating approach ensures your garden remains dynamic and visually appealing year-round.
Plan for Year-Round Interest with Layered Planting
Incorporate bulbs, perennials, and annuals to create depth and seasonal variety. Plant spring-blooming bulbs like daffodils alongside summer perennials such as daylilies. Add evergreen shrubs or ornamental grasses for winter structure. This layered strategy ensures your garden has something blooming—or at least visually interesting—in every season.
Take notes each year on which flowers thrive and which struggle. Adjust your planting plan accordingly—perhaps swap out a finicky annual for a hardier perennial. Over time, your garden will become a self-sustaining, low-maintenance haven of color and texture. The key is patience and observation; even small tweaks make a big difference.
Tips & tricks for perfect seasonal flower planting
Creating a garden that thrives year-round requires more than just planting flowers—it’s about strategic planning and attentive care. Here are the key insights that’ll help you avoid common pitfalls and maximize your garden’s potential.
Seasonal Layering Strategy: In Step 5, when planning your layered planting, prioritize bulbs with staggered bloom times—like early tulips followed by late daffodils. This creates a cascading effect where one flower fades just as another begins. I’ve found that pairing spring bulbs with summer perennials (like daylilies) ensures continuous color without gaps. The secret is to research each variety’s bloom duration and plant accordingly.
Soil Preparation Insight: The 12-inch soil depth mentioned in Step 2 is crucial, but don’t stop there. After loosening, run your fingers through the soil—it should crumble easily between your fingers. If it feels compacted, add another inch of compost and mix thoroughly. This step prevents root suffocation, which is why many gardeners struggle with weak blooms. For containers, ensure your well-draining mix has perlite or vermiculite to prevent waterlogging.
Timing Precision: The soil temperature of 60°F in Step 3 is your green light for summer planting, but don’t rush. Test with a soil thermometer—if it’s below 60°F, wait another week. I’ve learned this the hard way: planting too early in cool soil leads to leggy, weak seedlings. For fall plantings, aim for 6-8 weeks before frost, but check your local frost dates annually—they shift slightly each year.
Maintenance Shortcut: In Step 4, the 1-inch weekly watering guideline works, but I’ve found a smarter approach: water deeply every 5-7 days instead of daily shallow watering. This encourages roots to grow deeper, making plants more drought-resistant. For mulching, use 1-2 inches of shredded leaves or straw—they break down slowly, feeding the soil while suppressing weeds. This dual-purpose technique saves time and improves soil health over time.
Pro Tips for Seasonal Flower Planting
- Creating a garden that thrives year-round requires more than just planting flowers—it’s about strategic planning and attentive care.
- Seasonal Layering Strategy: In Step 5, when planning your layered planting, prioritize bulbs with staggered bloom times—like early tulips followed by late daffodils.
- Soil Preparation Insight: The 12-inch soil depth mentioned in Step 2 is crucial, but don’t stop there.
Frequently asked questions
Got questions about seasonal flower planting? You’re not alone! Here are some of the most common concerns—and their simple solutions—to help you grow a stunning, low-maintenance garden all year round.
When is the best time to plant seasonal flowers for continuous blooms?
Timing depends on your climate, but a general rule is to plant cool-season flowers (like pansies or snapdragons) in early spring or fall, and warm-season flowers (such as marigolds or zinnias) in late spring after the last frost. For year-round color, stagger plantings every 4–6 weeks to ensure overlapping blooms.
How often should I water seasonal flowers to keep them thriving?
Watering needs vary by flower type, but most seasonal blooms prefer 1–1.5 inches of water per week, either from rain or manual watering. Early morning is best to reduce evaporation and fungal risks. Mulching helps retain moisture—just avoid overwatering, which can drown roots.
Can I reuse soil from last year’s seasonal flower beds?
Reusing soil is fine, but refresh it with 2–3 inches of compost to replenish nutrients. Seasonal flowers deplete soil quickly, so test pH levels (aim for 6.0–7.0) and amend with organic matter if needed. Rotating crops also prevents disease buildup.
What are the most common pests for seasonal flowers, and how do I prevent them?
Watch for aphids, slugs, and spider mites, which love tender blooms. Prevent pests with neem oil, row covers, or companion planting (e.g., marigolds deter pests). Remove damaged leaves promptly and encourage beneficial insects like ladybugs.
What if my seasonal flowers stop blooming mid-season?
Over-fertilizing (too much nitrogen) or inconsistent watering can stunt blooms. Try deadheading (trimming spent flowers) and switching to a low-nitrogen, high-phosphorus fertilizer to encourage more blooms. Some flowers, like zinnias, naturally slow down in extreme heat—provide afternoon shade if needed.
Wrapping up and next steps
Seasonal flower planting isn’t just about aesthetics—it’s a rewarding way to enjoy vibrant blooms year-round with minimal effort! By choosing the right flowers for each season and following simple care tips, you’ll create a lush, low-maintenance garden that thrives effortlessly.
Whether you’re a beginner or a seasoned gardener, the key is planning ahead and embracing nature’s rhythm.
Ready to transform your space? Start small—pick one season to focus on first, then expand as you gain confidence. Grab your gloves, pick a sunny spot, and let your garden bloom with joy! 🌸✨